
Accelerate AWS S3 file downloads with PUSHR CDN
Using AWS S3? Try Sonic S3-compatible object storage!
A drop-in replacement for AWS S3 that costs up to 7x less. Learn how to configure your Sonic-powered CDN zone.
Integrating PUSHR CDN with your Amazon S3 storage bucket will increase the performance of your file delivery, while improving latency and significantly reducing your bandwidth costs.
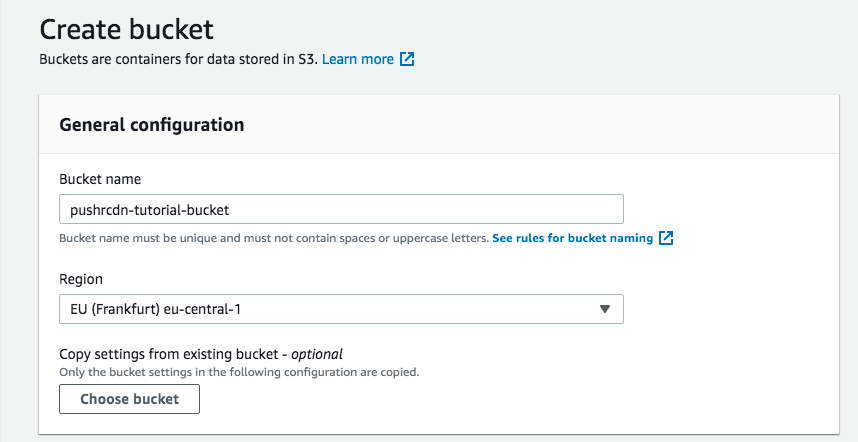
1. Create S3 bucket
Head over to your AWS S3 management console and create your bucket. Remember to uncheck the blocking restrictions or PUSHR will be unable to pull your files:


2. Obtain the bucket URL
With your newly created bucket, upload a file and then click on it to obtain the bucket URL:

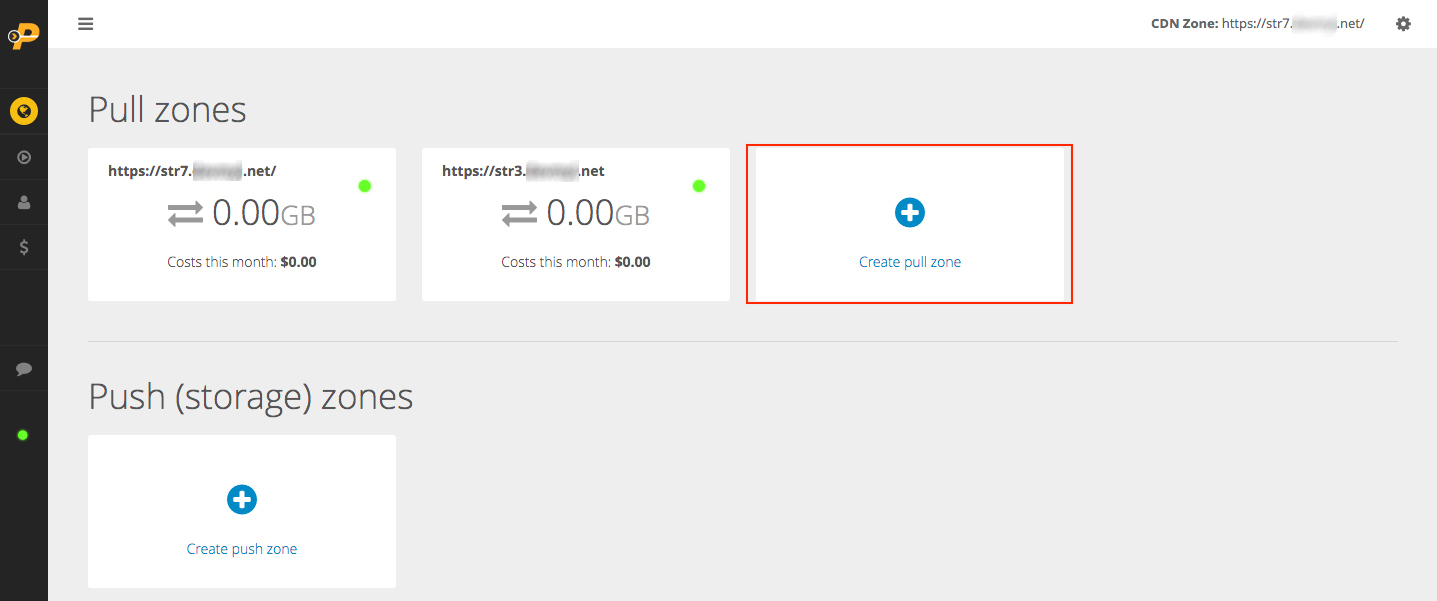
3. Create a new pull zone
With the bucket URL copied, head back to your PUSHR CDN dashboard and create a new pull zone. Paste the bucket URL:

Done! You new pull zone will take a few minutes to go online. Once it does, you will be able to access the files in your S3 bucket by using your CDN URL. PUSHR will pull and cache the files for improved performance and cost savings.
4. Deliver your content
In the example above we've uploaded the file new-kitten-750x500.jpg to our S3 bucket. This file is normally accessible from the S3 Object URL:
https://pushrcdn-tutorial-bucket.s3.eu-central-1.amazonaws.com/new-kitten-750x500.jpg
To deliver the file from PUSHR CDN, simply replace the bucket URL with the CDN URL of the pull zone you have just created. You will find the default CDN hostname for this zone in the Origins & Hostnames tab :

In this example, the default hostname that PUSHR has generated for the newly created pull zone is 0491z5821.r-cdn.com
The uploaded file is therefore acccessible from this URL:
http://0491z5821.r-cdn.com/new-kitten-750x500.jpg