
Creating your first CDN zone
tl;dr: For each website that you want PUSHR to accelerate, it is best to create a seprate CDN zone.
A CDN zone represents a unique set of rules and settings that apply to how PUSHR will cache, accelerate and serve your content to your visitors. Creating a separate CDN zone for each website, app or service that you would like to accelerate allows you to have granular control over how each of them performs, it's security settings and it's billing costs.
Pull vs. Push zones
tl;dr: To accelerate websites and apps, you'd usually want to create a pull zone. To serve media content or large files, you'd usually want to create a push zone instead, and then store all your content inside PUSHR's scalable file storage (SFS).
There are two types of CDN zones that you can create - Pull and Push. When you want to accelerate a website or an app you would usually use a Pull zone. Pull zones will pull the content from your website, cache it and then deliver it to your visitors from the CDN edge cache. All the content (including images, js, css and other files) are actually stored on the host where your website is. You don't need to upload anything to PUSHR.
In contrast, a Push zone will pull content from PUSHR SFS scalable file storage, and not from your website. This type of zone is suitable for large media files. You would be using SFS for uploading and storing your files, and PUSHR will cache them on the edge from there. A Push zone can not accelerate your website, but can directly host it's assets (including images, js, css, videos, downloadables, etc.) in SFS.
Creating your first CDN pull zone
If you've signed up for PUSHR from any other button on our website, except for the Sign Up button, you have already created your first CDN zone via our onboarding steps. If you have signed up by clicking the Sign Up button directly, you need to create you first zone to start using your account.
1. Sign in to your account and go to the CDN tab in your dashboard:
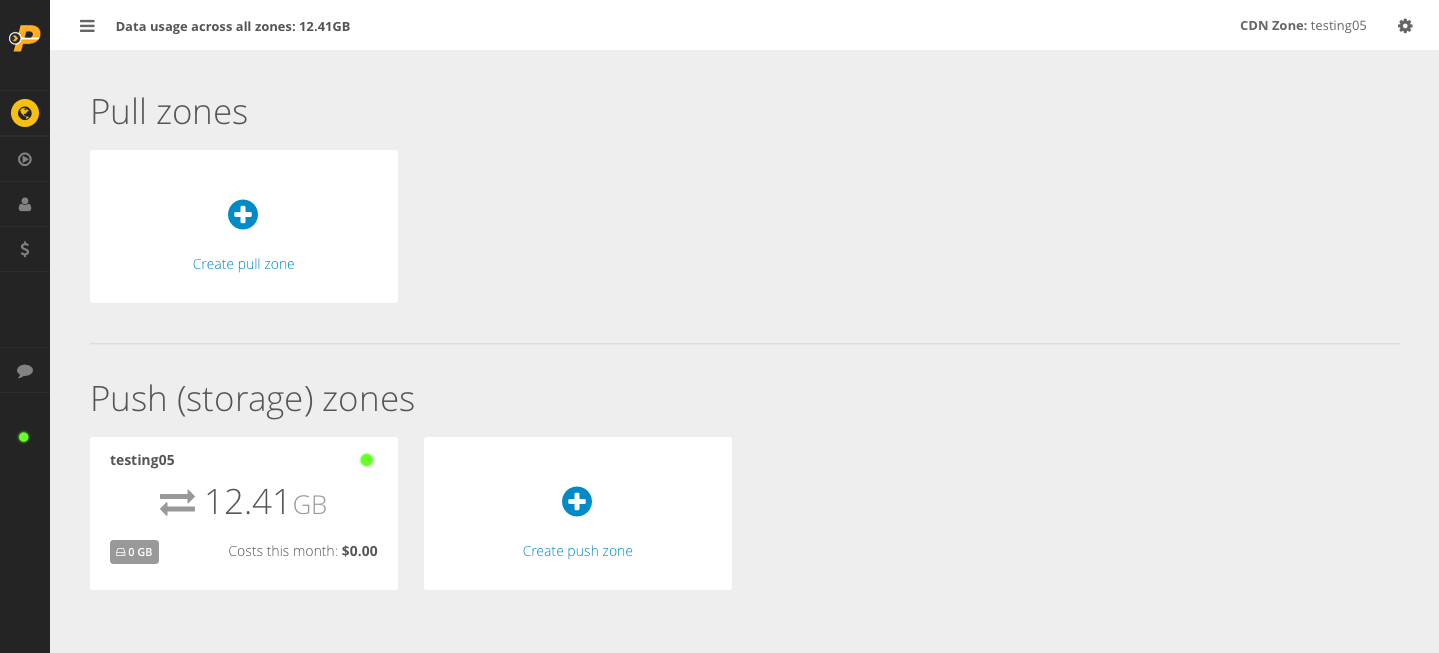
2. Click on Create pull zone
In the window that opens, you will be asked for zone label and origin.
Zone Label is the name that you want to give to this CDN zone. It can be anything and has no effect on how PUSHR will operate. When you decide to create more CDN zones later on, these labels will be what you will use to easily distinguish which zone is which. A good idea is to type the name of your website or app that you will use this CDN zone for.
Origin is the address (URL) of your website. Type it in. It is best to type the full URL (with http:// or https://), but if you miss that part PUSHR will automatically use http:// .
Let's use https://mywebsite.com as our origin for this mywebsite.
Once ready, click the create button.

So what did just happen?
When you clicked the create button, PUSHR created a special configuration file for this CDN zone. This file has been sent to the entire edge network of our CDN and it will take effect in about 1 or 2 minutes.
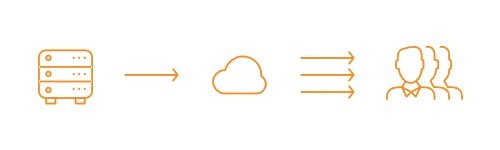
It also created a unique URL for your new CDN zone. This will be the URL serving all the cached content from your website. This file instructs the CDN that every time someone requests a file from the unique URL, PUSHR has to contact https://mywebsite.com and request the file. It should then cache it, and send it to the visitor. When another visitor in the same geographical location requests the same file, PUSHR will serve it directly from it's cache for maximum speed. Here is how this works:
3. Start using the new pull zone
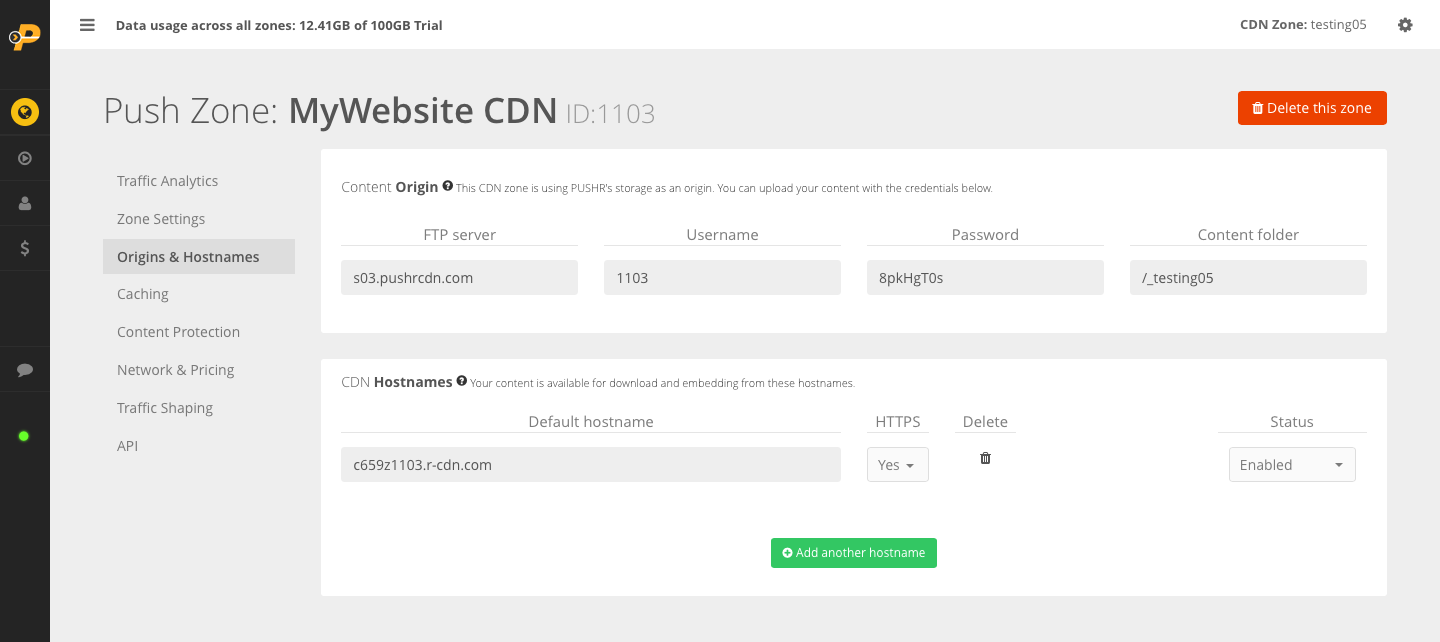
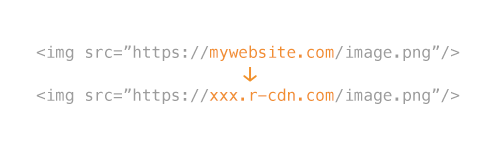
After a few minutes have passed, the CDN zone is ready for use. To start accelerating your content, all you need to do is to replace links to static assets (including images, js, css and other files) in your website's HTML code with the new unique URL that PUSHR automatically created for your new zone in the previous step. This URL can be found by clicking on the newly created CDN zone. You will enter the zone management panel. Click on Origins & Hostnames. The unique URL will be listed under CDN Hostnames > Default hostname.
Copy this hostname because you will be using it when you edit your site's HTML code. If you are using a CMS like Wordpress, Joomla, Grav or others, at this point you should check the available tutorials in the side bar on the left of this text. Click on the integration tutorial for the CMS you are using and continue from there.
If you are using a CMS that we do not have a ready made tutorial for, please open a ticket from your dashboard to request it.
If you are using a custom platform or you've built your website or app on your own, you will need to open the files and manually replace all links to static assets to point to the unique CDN URL. In your HTML code, this is what needs to happen:
4. Done
You are all set up! Your website files will now be served to your visitors by PUSHR CDN. Inside the Traffic Analytics tab in the zone dashboard you will start seeing various data about how PUSHR delivers your content and where around the world it is being requested. It may take around an hour for information to start dispaying in your account.